The adhesive side of the window film goes against the window. When applying window film, you’ll typically have one side with adhesive (the side that will adhere to the window) and one side with a protective backing that you’ll peel off before installation. The adhesive side should be facing the window surface, while the protective backing should be facing outward until you’re ready to apply the film.
Here’s a step-by-step guide for applying window film…
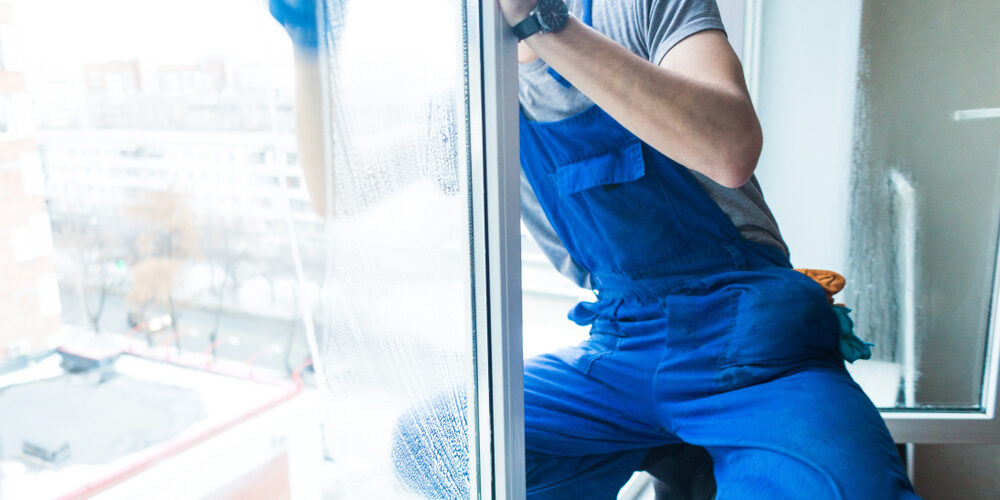
- Prepare the window surface by cleaning it thoroughly to remove any dirt, dust, or debris.
- Measure and cut the window film to the appropriate size, leaving a small margin around the edges for proper alignment.
- Spray the window surface with a solution of water and a few drops of dish soap to make it slightly wet.
- Peel the protective backing off the window film, exposing the adhesive side.
- Spray the adhesive side of the film with the water and soap solution to prevent it from sticking prematurely.
- Carefully position the film onto the wet window surface, starting from the top and working your way down.
- Use a squeegee or smoothing tool to press out any air bubbles and ensure a smooth, even application.
- Trim any excess film from the edges of the window using a utility knife or razor blade.
- Use the squeegee or smoothing tool to press along the edges of the film to ensure it’s securely adhered to the window surface.
- Wipe away any excess water or soap solution with a lint-free cloth, and allow the film to dry completely.
By following these steps and ensuring that the adhesive side of the window film is facing the window surface, you can achieve a professional-looking installation with optimal adhesion and performance.


